Last updated · 2 min read
How to remove the background from a photo (free, on your device)
Product listings, profile pictures, presentations and stickers all look better with a clean cut-out. AI background removal does in seconds what used to take careful work with selection tools — and you can do it without uploading your photo anywhere.
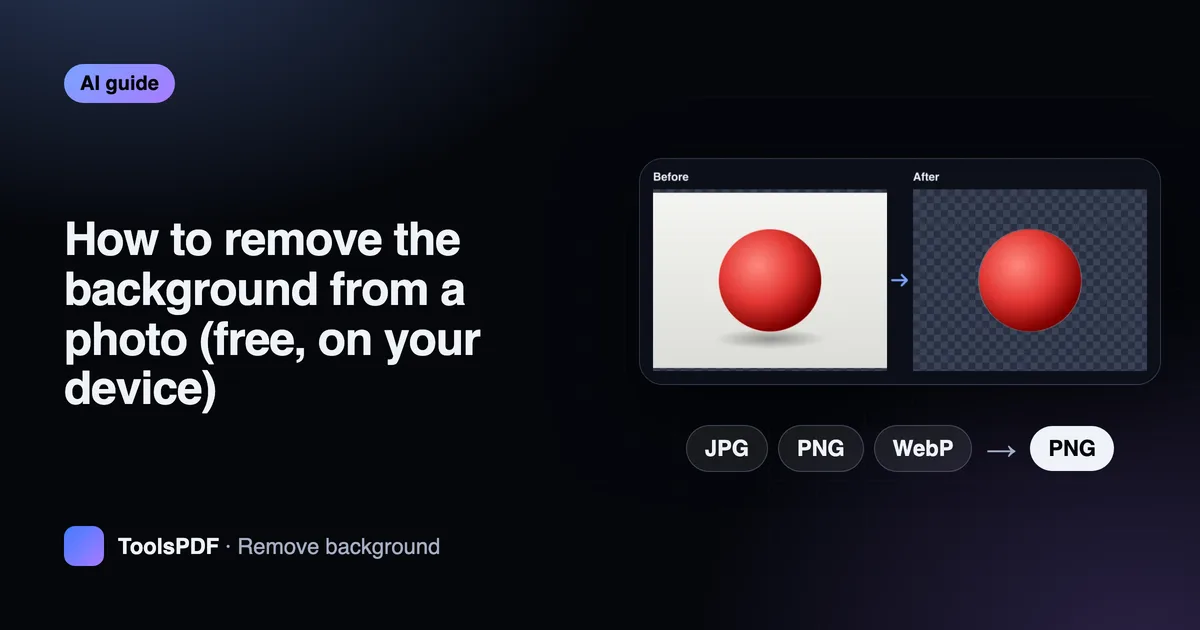
Remove a background step by step
- Step 1: Open Remove background and add a JPG, PNG or WebP photo (up to 10 at once).
- Step 2: Choose New background: Transparent, or Solid colour with a colour of your choice.
- Step 3: Click Start. The first time, your browser downloads the AI model (about 4.6 MB) from this site.
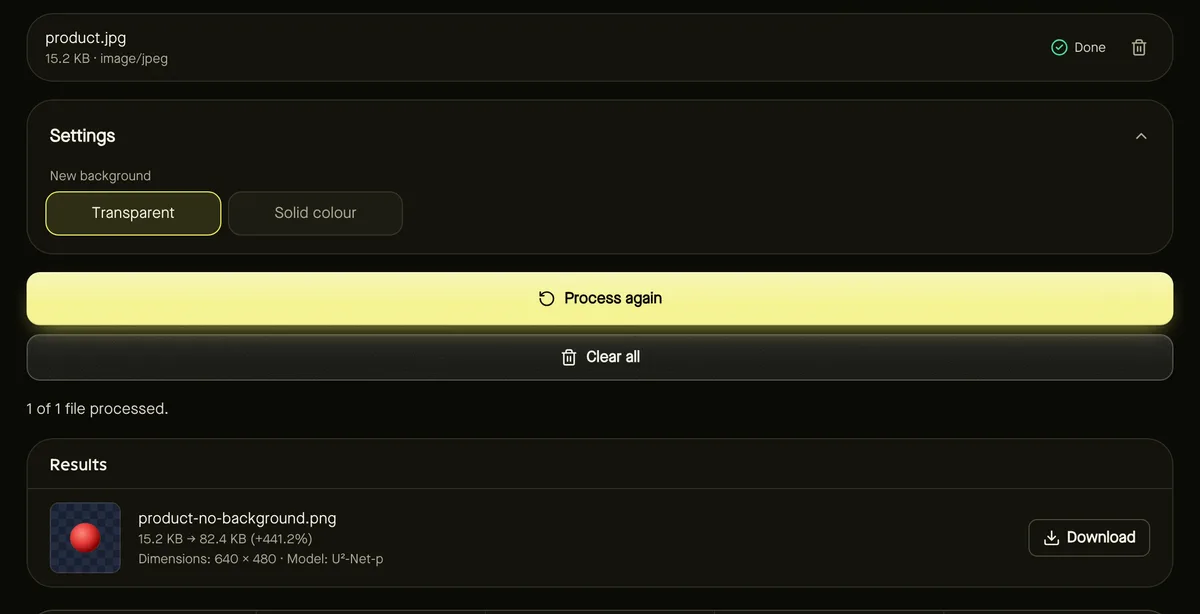
- Step 4: Check the preview in the results, then download the PNG.
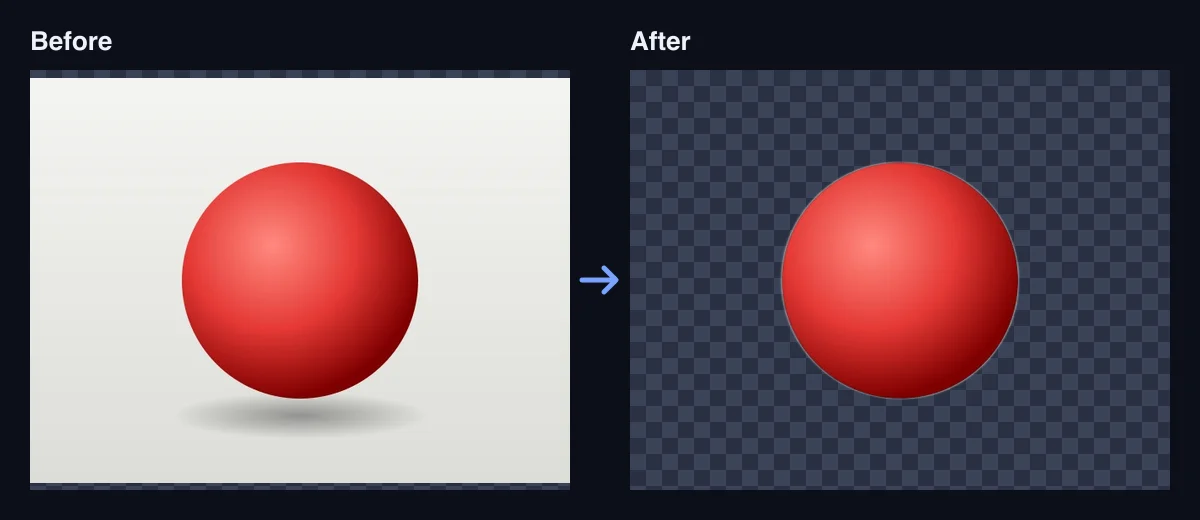
How it works
The tool uses U²-Net, an AI model trained to find the main subject of a photo. It produces a mask — a soft map of what's subject and what's background — which is scaled to your photo's size and applied as transparency. Everything runs on your device's processor, in the browser.
Photos that cut out cleanly
- A clear subject that stands out from the background in colour or brightness.
- Even lighting without harsh shadows merging into the background.
- The whole subject in frame, not cropped at the edges.
- Simple backgrounds — a wall, a table, the sky — give the cleanest edges.
The model is designed to be small and fast, so fine hair, fur, thin details and transparent objects such as glass can be imperfect. Always check the preview before using the result.
Transparent PNG or solid colour?
| Choose | When |
|---|---|
| Transparent | Designs, slides and stickers where the subject sits on other content |
| White | Marketplace product photos that require a white background |
| Brand colour | Consistent profile pictures or team pages |
Frequently asked questions
Is my photo sent to an AI service?
No. The model is downloaded from this site and runs in your browser; your photo never leaves your device.
Does it work for products and animals, not just people?
Yes — it detects the main subject of the photo, whatever it is. Results are best when the subject clearly stands out.
Why is the output a PNG?
PNG supports transparency and keeps the cut-out edges clean.